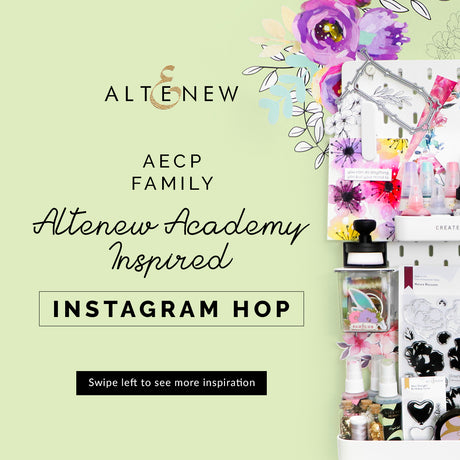
AECP Family IG Hop
By Neha Aggarwal
Hello Everyone Today I am sharing a card which I have made for my hubby's office collegue a sympathy Card. With the current situation in India he lost his dad...
Read more
By Neha Aggarwal
Hello Everyone Today I am sharing a card which I have made for my hubby's office collegue a sympathy Card. With the current situation in India he lost his dad...
Read more
By Neha Aggarwal
Hello Readers You are here from Rachael Shedeed blog , what a wonderful and cleaver girl she is . I am today sharing a card I made for the Altenew...
Read more
By Neha Aggarwal
Hi, lovelies! As an Altenew CertifiedEducator, I am joining a fun blog hop where all of usEducators will be sharing our love for Altenew throughour handmade goodness/creations! The hop starts...
Read more
By Neha Aggarwal
Hello Everyone Today I am sharing a card which was truly an inspiration from a beautiful lady Natasha Davies . I am so inspired by her work that I tried...
Read more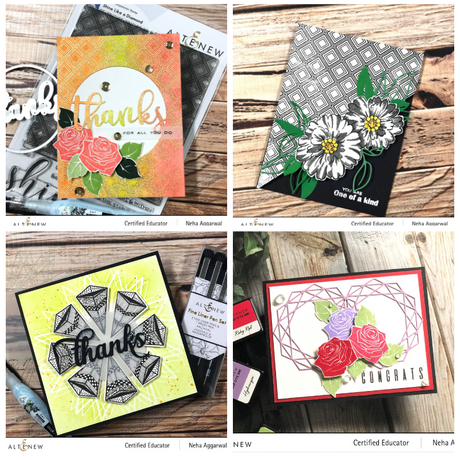
By Neha Aggarwal
Hello Everyone Thank you for stopping by . You are here from Amber Rain Davis . Isn't she lovely!! Today I want to share my four cards which I made...
Read more
By Neha Aggarwal
Hello Everyone, Hope you had a wonderful time reading Amber Rain Davis blog. Isn't she a wonderful crafter? Welcome back to my another Altenew Educator Blog Hop. Today I am...
Read more
By Neha Aggarwal
Hello Everyone, Welcome back again to my blog. Today I am sharing my project as a guest designer for Altenew again . Sorry my post is a bit long as...
Read more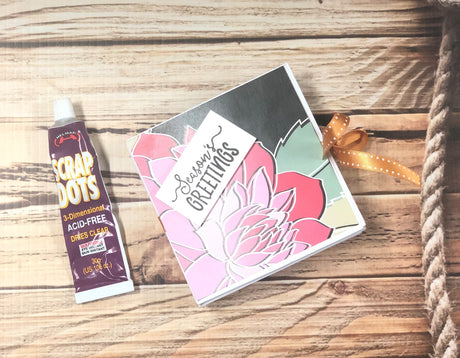
By Neha Aggarwal
Hello Everyone, Today I have tried to make a desktop calendars tutorial. I have used Helmar Scrapdots. This glue is fantastic to work with and they are quick to dry...
Read more
By Neha Aggarwal
Hello Everyone,Hope you all are enjoying the blog hop . You have just arrived from the blog of Nancy McClelland Today I have another project for Altenew Educator Blog hop.Before...
Read more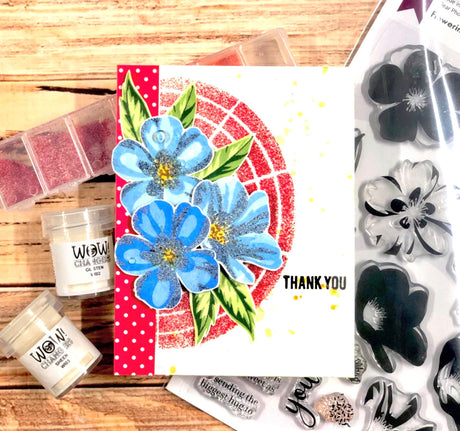
By Neha Aggarwal
Hello All,I am here again with another Card I created with Altenew stamps, dies and Wow! Changers embossing powder.When I saw these wow embossing powder , I was so fascinated...
Read more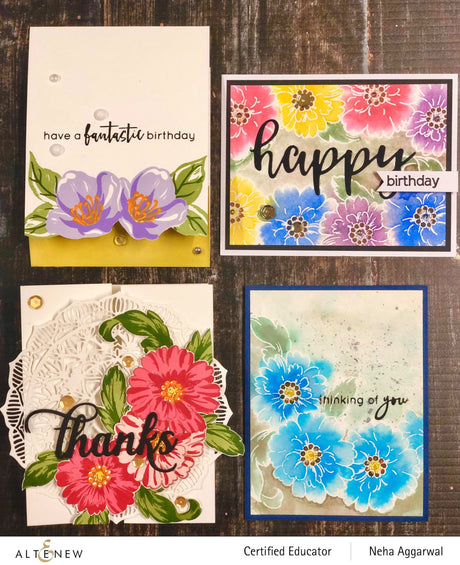
By Neha Aggarwal
Hi Everyone, Today I am so excited to be on the April release Blog hop for Altenew as a guest Designer . You have come all the way from Therese...
Read more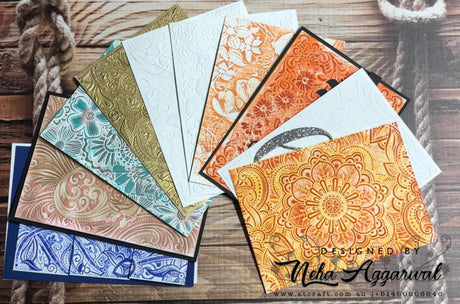
By Neha Aggarwal
Hello Card makers and BloggersIts been a long time since I wrote my last blog. Was so busy after my Altenew Educator Program which I cleared in July. Yes you...
Read more
By Neha Aggarwal
Welcome back to my blog. Today, I am sharing another technique which I learned from Jennifer Rzasa. Absolutely amazing technique. In this one I have used my pan colours as...
Read more